
Hello friends of Marieú Technology Corporation, are you missing a golden opportunity after every sale? With just 4 steps, you can create a 100% optimized thank you page in WooCommerce. This isn’t just a confirmation—it’s a powerful tool to build customer loyalty and generate new actions!
At Marieú Corp., discover how to customize it to offer discounts, invite users to social media, or suggest related products. Convert a simple “thank you” into the beginning of a lasting relationship with your customers and maximize the value of every purchase.
How to Optimize the WooCommerce Thank You Page with Marieú?
Here we have a small diagram; we will start by installing the plugin. Internally, we will search for the plugin and install it within our WordPress CMS. Once installed, we will begin the configuration and create the thank you page.
Remember that this page is created independently of the entire purchase process flow within WooCommerce. Once we have this page, we will proceed to enable the redirection. Remember that every time a user buys a product or service within your e-commerce, they are redirected to a page with all the billing details. The URL for that billing page is different for each user.
To make it the same page for all users, we must redirect them to the thank you page. Finally, we will perform some tests to see how this thank you page is working.

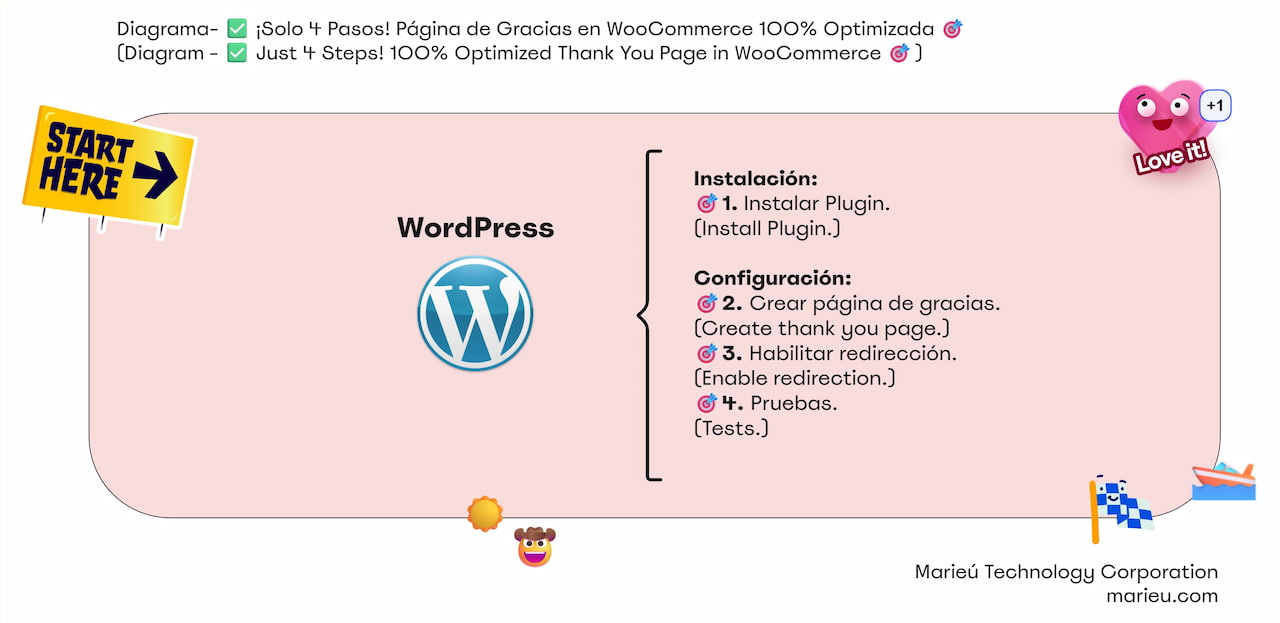
Diagram: 100% Optimized Thank You Page in WooCommerce!
Source: Author’s Own Work, via Miro.
We are within WordPress.org. The plugin is called Thank You Page for WooCommerce. This plugin is constantly being updated; in fact, the last update was 4 days ago, it has good reviews, and it does not affect performance. Remember that it only works on the final billing page. In this case, it redirects to a thank you page. Here we have some installation details.
Also remember that the plugin is completely free; it does not require any cost or subscription to use it.
We are inside our WordPress administrator. We are going to go to the plugins section, select it, and here we will add a new plugin. So, we will type the plugin name in the search bar. Remember it is Thank You Page for WooCommerce; here we have it. If we see a similar one, let’s reference the developer Nitin. We install it here and then activate it.
Now we are going to create the thank you page. How do we create it? We simply go to the pages section, and here we are going to create a new page. For Marieú Corp., we are using the Elementor builder, so we select “Edit with Elementor,” and here we already have the blank section to include the header section, the body section, and finally, the footer section.
For example, if we go to the cart, we select “Edit with Elementor.” The cart is currently empty, which is why it shows up like this, but we have the header section. We go to the section and copy it; we paste it here, Ctrl + V, and paste it. Similarly, something similar with the other sections, we copy and paste it here. Remember that the body part, in this case, is the cart, we will leave it empty. We go here, we remove the card widget—there it is!
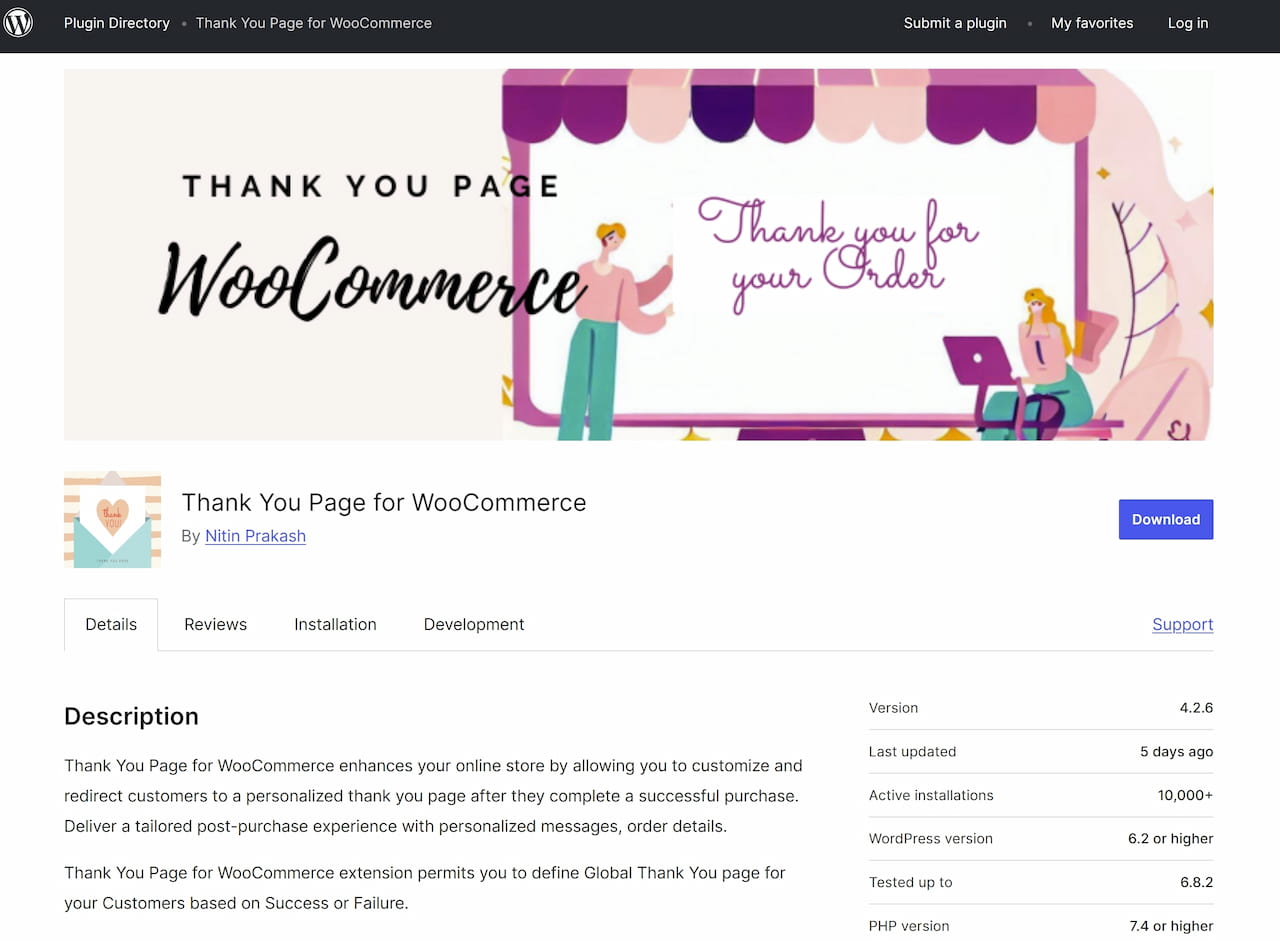 Where to download the WooCommerce Thank You Page plugin?
Source: Author’s Own Work, via WordPress.
So, finally, the footer section would be missing; we copy and paste it. This would be the thank you page; therefore, we would have to include “Thank you for your purchase” here, and we will put it in quotes—there it is! That is for the heading. For the text section, we will include the following: “We value your trust and hope to serve you again soon.”
So, we are simply going to do the following in the body part. We open the section, click here, the back arrow, and locate the widgets section. Here we will simply place a button. We can create a button from scratch; obviously, it will differ greatly in style, or, otherwise, we extract a button from a page that we have already created.
On our home page, for example, we have a button here, the call-to-action button. We click “Edit with Elementor.” Our goal here is, to avoid creating a button from scratch, we extract the button from here, copy it, and paste it here—there it is!
So, we are going to center it. To align it, we go to the Advanced section, and here, we set the width to default so that it takes up the entire width corresponding to the column. Then go to Styles and click Center—there it is! So, the text here would now direct to “My Account”; we put “My Account” here.
Remember that the link would also have to be this one, “My Account.” What is the account? If we click View, this is the account that comes from WooCommerce.
Additionally, this is the “My Account” page that already comes with WooCommerce. In some cases, we have to design it to have the order details section, subscriptions, downloads, and include the header and footer parts. What we do is copy this URL, go here, and paste it.
Finally, when the user finishes the purchase, they come here, select the “My Account” button, and are redirected to the “My Account” page, that is, this one. Where they will be able to see their orders, see their invoice details, addresses, all the data included to make this purchase. Remember to click “Publish” here.
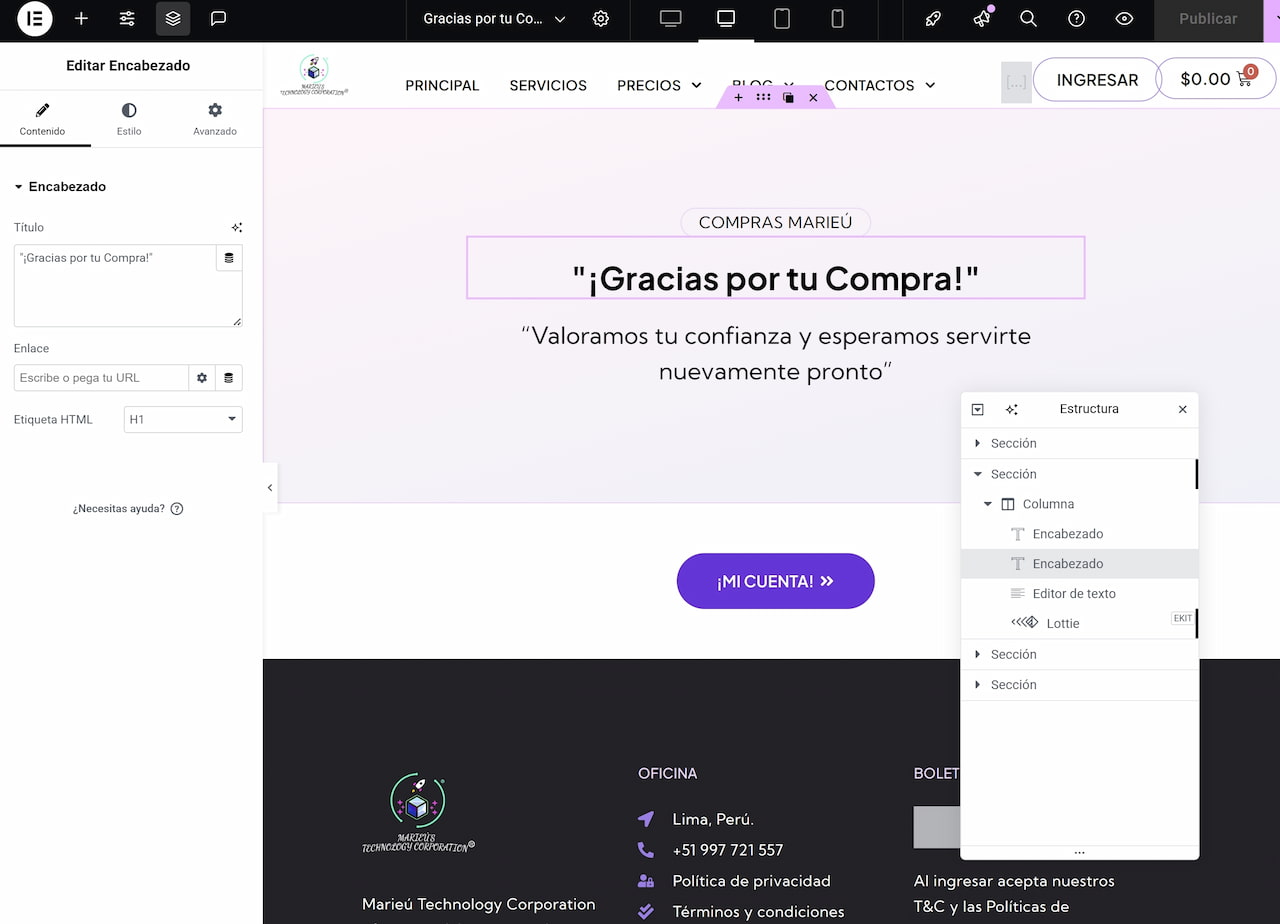
Create Thank You Page in WordPress.
Source: Author’s Own Work, via Elementor and WordPress.
Now we are going to move on to the redirection part. For that, we are going to go to WooCommerce, and within “Settings,” we go to “Products.” In “Products,” we can see a tab activated here because we installed this plugin: Thank You Page for WooCommerce. We select it, and here the configuration is simply easy, super basic. We activate “Global Redirection,” we enable this checkbox. The URL of the thank you page.
Remember that if we created it with Elementor or any other builder, the title will initially appear by default, so we have to change it. In this case, the thank you page corresponds to this one. We simply copy the name, “Gracias por tu compra” (Thank you for your purchase), and paste it here—there it is! Both for the title and for the slug. We update it, and it should appear here.
If not, we refresh the page, and “Gracias por tu compra” should appear here—there it is! Remember to save changes to finally proceed with the tests.
For testing, we are going to buy a service. If we select “Social Media,” remember that here we offer everything related to social media management. We will click “I want it.” We are on the cart page; we click “Continue.”
Since this is a test environment, we simply enter test data, names and last names: “test,” the number is also “test,” and we are entering the Marieú Corp. support email. We add the payment card, which in this case is a test card, and check the box for “I accept the Terms and Conditions.” Here we will click “Pay Now.”
After payment, it automatically redirects to the “Thank You Page.” So, when the user gets here, they select the “My Account” button and are redirected to the “My Account” page.
Final Results
Before entering the “My Account” page, I wanted to point out that here you can already run your campaigns with this link. Every time we generate a purchase conversion, we can add this tracking link. Every time they land on that link, there is a purchase conversion. You can configure this in Google Ads.
Remember that we also have a Google Ads video; we will leave it in the description so you can create your campaigns. So, when we select the “My Account” button, it lands on this “My Account” page—there it is! Done! Thank you, friends of Marieú Technology Corporation!

THE AUTHOR
Daniel Alejandro Montoya Godenzi
Alejandro, holding a Master’s degree in Administration and Project Management and a Mechatronics Engineer, has experience in digital technology projects. He is part of the Marieú Technology Corporation team. In his free time, he enjoys creating new projects, reading a book, or watching a series.





