
Hello friends of Marieú Technology Corporation. Are your texts failing to capture attention? Learn how to design eye-catching and fun text effects in Illustrator that will truly impact your audience. With 5 simple steps, you will transform your words into visual artwork that sticks in everyone’s mind.
At Marieú Corp, we will show you tricks and techniques to play with fonts, colors, effects, and textures, giving your messages a unique personality. Unleash your creativity and make every word count with designs that break the mold and generate an emotional connection.
How to Create Text in Illustrator and Achieve Incredible Designs with Marieú?
We will start by downloading the font and the effect. The font is completely free, and the effect will be included in the description so you can download and practice with it. We will install the font within Adobe Illustrator, edit the animated text, and shape it to the “Marieú Corp.” text! We will also increase the text size slightly when adjusting it, and finally, we will show the results.

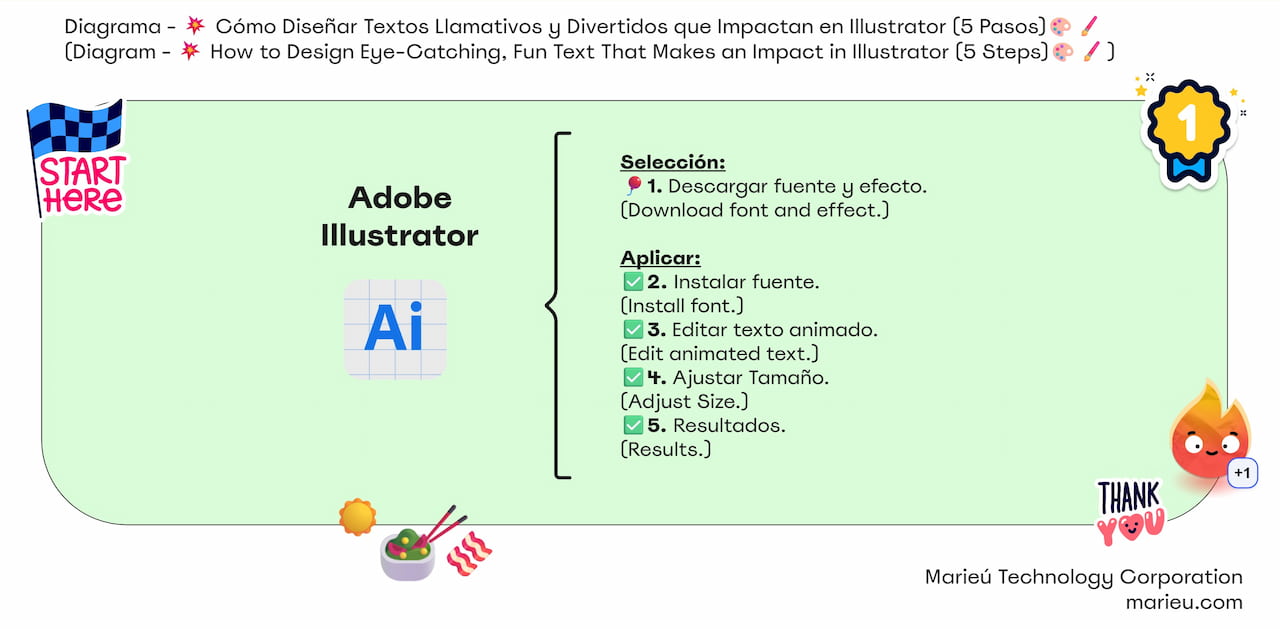
Diagram: How to Design Catchy and Fun Text in Illustrator!
Source: Author’s Own Work, via Miro.
Then, the text effect is here; we will download and edit it. We already have the downloaded ZIP file. Right-click and choose to decompress/extract to the folder name. Here, for example, we recommend using the same name, “Cute text effect for children,” paste it here, and rename it.
Open it, and internally you will get the following files. We have the Illustrator format, the second is EPS, which is a vector format. The third is a JPG image format, which is a preview of how this catchy text would look. And finally, we have a help or guide TXT file.
In this help file is where we find the font; we copy and paste it here—there it is! This font is completely free. In fact, the author mentions here that this font is 100% free, and we can download it with that button. Select it, and we will have the font.
Once here, we have the downloaded font, Motley Forces. Right-click and decompress it. Once here, we have the downloaded font, Motley Forces, here it is. Right-click, and we can decompress it.
Internally, you only get an informational TXT file, which is a text file, and we have a second one which is the font. This is the font we need to install within Adobe Creative Cloud. We open it. Inside Adobe Creative Cloud, click on fonts, then uploaded fonts, and here we add more fonts. Select the font, drag and drop it. Check the box to confirm that we have the author’s authorization, as it is 100% free in this case. Select and click Add.
In our case, it says “duplicate font” because we have installed it previously.
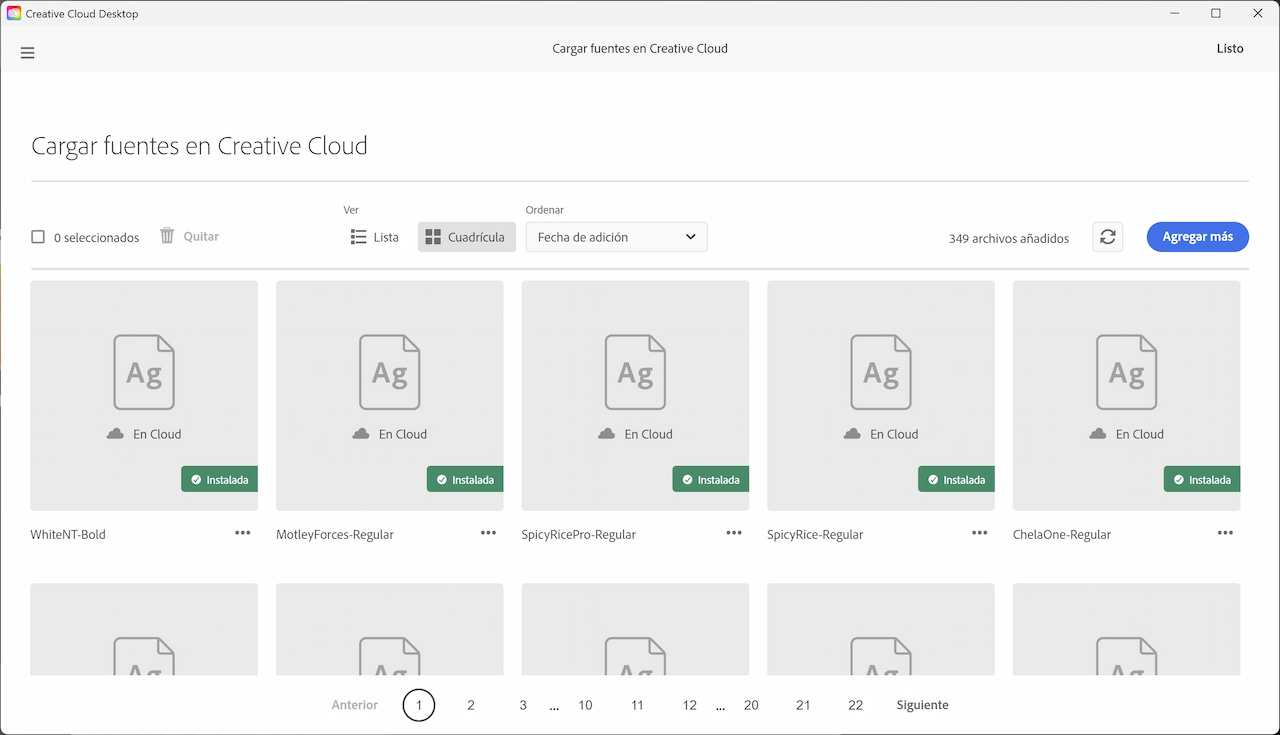 How to Load Fonts in Illustrator with Creative Cloud?
Source: Author’s Own Work, via Creative Cloud.
Now, what we are going to do is open the .AI format. When you open it, it will look like this. Then, remember that we must install the font so that it updates. When we add the font—in this case, we eliminated it so you could see the difference. So, when we add the font, we click Add, wait for it to finish processing, and when it is updated, we will click OK here. We will notice that the font updates automatically. We click Close because we have already uploaded the font.
Adobe Illustrator can also automatically activate fonts that are available within Adobe Fonts. Remember that Adobe Fonts contains several fonts provided by Adobe, and we can use them in our projects. We select “Enable automatically,” and that’s it.
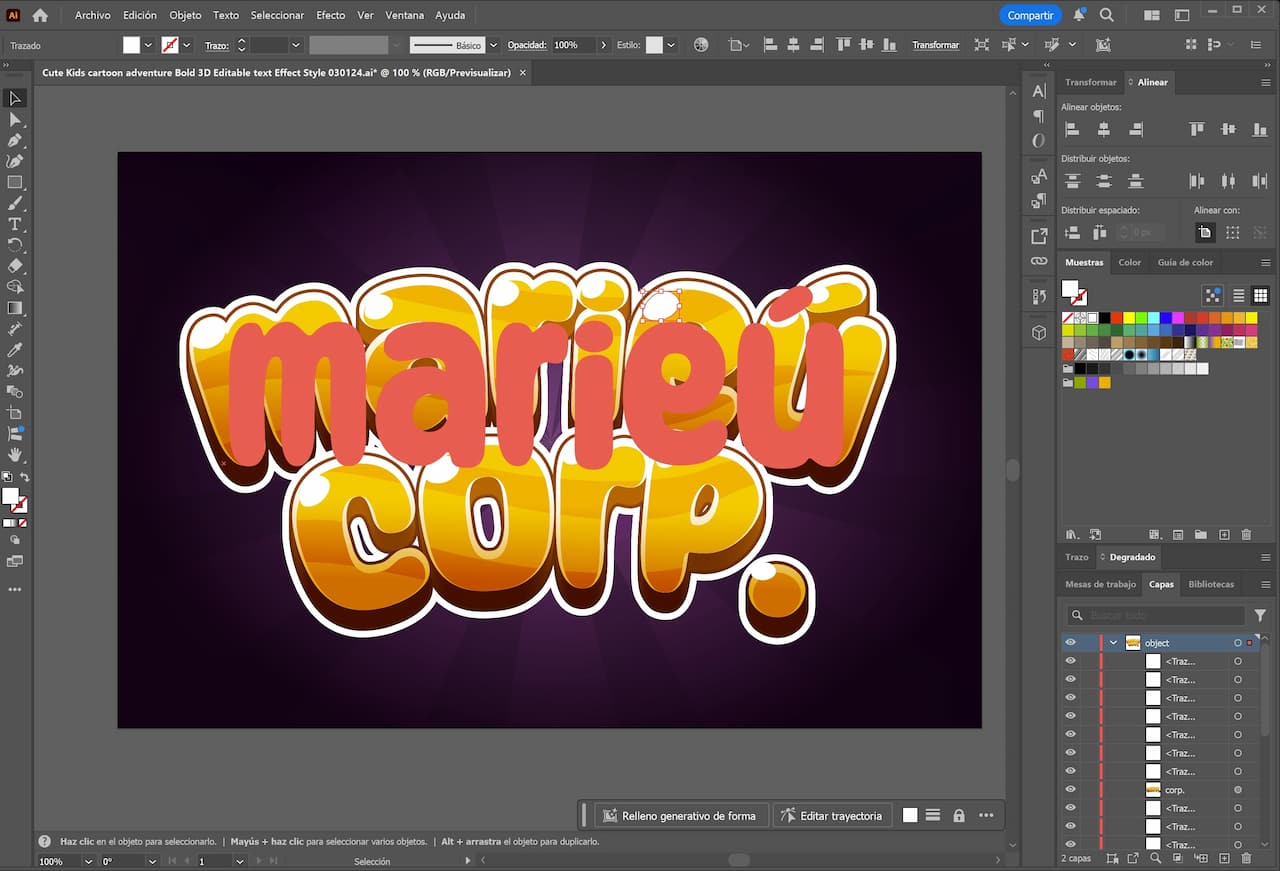
Text in Illustrator: Adjusting Text Size.
Source: Author’s Own Work, via Adobe Illustrator.
What we are going to do now is edit the text. We will double-click and type Marieú, and here below, we will put Corp. So, we see how the text changed, and now we are going to adjust the size. Simply select the text, press Ctrl + T, and we can drag it—there it is! Something similar to the previous one, click on Corp. Ctrl + T, and we can drag it. If you want to see the layers, select here. Go to the right side, click on Artboard, go back to layers, and there they are!
If we want to change the background, we can manage it in these layers. This is the background. If we remove the eye icon, we see it disappear, but for now, we will leave it as is.
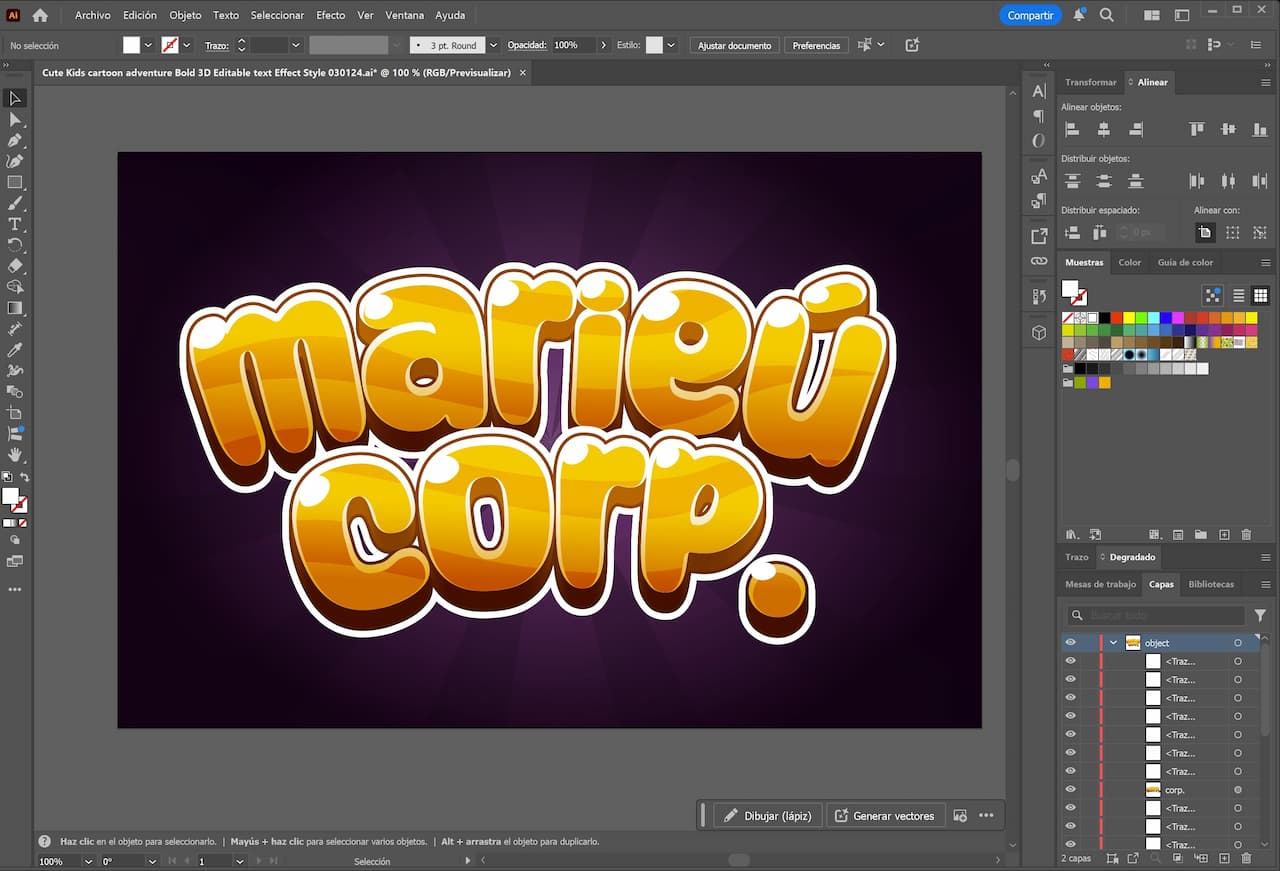
Text in Illustrator: Adjusting Text Size.
Source: Author’s Own Work, via Adobe Illustrator.
Before looking at the results, now we are going to place this reflection layer. We go over here and place it in the upper left corner. We are also going to change it here, reduce it, and place it here as well. Just like on the “U,” we will place it here and reduce its size slightly. This is simply an effect to show a reflection on each of the letters.
Final Results
Finally, we will place it down here. We have the “C” here. We are going to flip it a little. If we approach the corner, we can give it an angle—there it is! If we notice that the bubble is too large, we reduce it slightly. We zoom in with Ctrl + mouse wheel, rotate it a little, and that’s it!
And finally, we have the results. We now have a catchy, fun text effect that makes an impact. Done! Thank you, friends of Marieú Technology Corporation!

THE AUTHOR
Daniel Alejandro Montoya Godenzi
Alejandro, holding a Master’s degree in Administration and Project Management and a Mechatronics Engineer, has experience in digital technology projects. He is part of the Marieú Technology Corporation team. In his free time, he enjoys creating new projects, reading a book, or watching a series.





