
Hello friends of Marieú Technology Corporation, do you want your products to reach millions of people on Facebook and Instagram? Connect your WooCommerce store to Facebook in just 7 foolproof steps. This integration is the key to selling more, showcasing your items directly on the platforms where your customers spend their time.
Learn to sync your catalog, create dynamic ads, and optimize your campaigns to reach the right audience. This is your opportunity to take your online store to the next level and transform your social media presence into a sales machine!
How to Connect Facebook WooCommerce and Sell More with Marieú?
This plugin is from Facebook and is offered within WooCommerce, so, consequently, this plugin is 100% reliable. We will start with the installation; we will install the plugin inside WordPress. From there, we will create and integrate the Business Portfolio.
In fact, it is no longer necessary to have a Business Portfolio within Meta, because this plugin will create one from scratch for you, including the Business Portfolio, the catalog, the Ad Account, and the Pixel. What we do need is a Facebook Page, in this case, a business page (the Fanpage), and also an Instagram profile. We must have both of these.

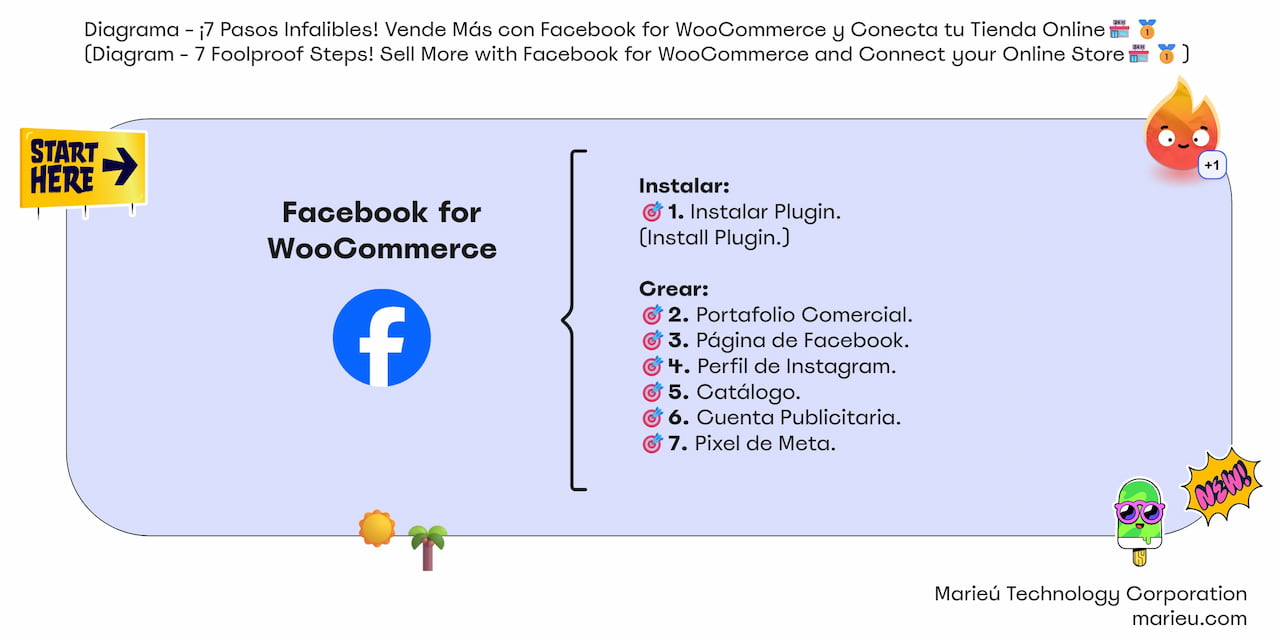
Diagram: Facebook for WooCommerce and Connect Your Online Store!
Source: Author’s Own Work, via Miro.
So, we are inside the production environment of Ricuritas de Marieú. Remember that this is also a brand of Marieú Technology. We are in the plugins section, remember we are in “plugin,” and here we are going to go to “add new plugin.” Then we will type Facebook for WooCommerce.
The plugin we are going to install is this one. Remember that this plugin is from Facebook, so it is reliable; let’s go here, install it, and then activate it.
For example, we have already installed it and also activated it, which is why it appears like this. Under Marketing, we have Facebook here. Here we have several tabs; the first tab is for connection, that is, where we are going to create and integrate the entire Business Portfolio, as well as the catalog, the Ad Account, and the Meta Pixel.
We will click on “Get Started.” Remember that we must have a Facebook account, in this case, the Marieú account. It asks if we agree to allow WooCommerce to receive the name and profile photo to start this integration; we click Continue. So, by connecting WooCommerce with Facebook, we will be able to do the following.
For example, we intend to get more purchases on the website. We also want to find new leads or new customers, and finally, get some valuable statistics. This includes all the tracking that is done within our website. We click “Next” and here.
So, once we have, for example, if we want to connect A Bordo Con Marieú, we already have this connected, but how would it be in this case? We select the Business Portfolio, which would be: A Bordo Con Marieú. In case we don’t have one, we can click “Create” and create a Business Portfolio.
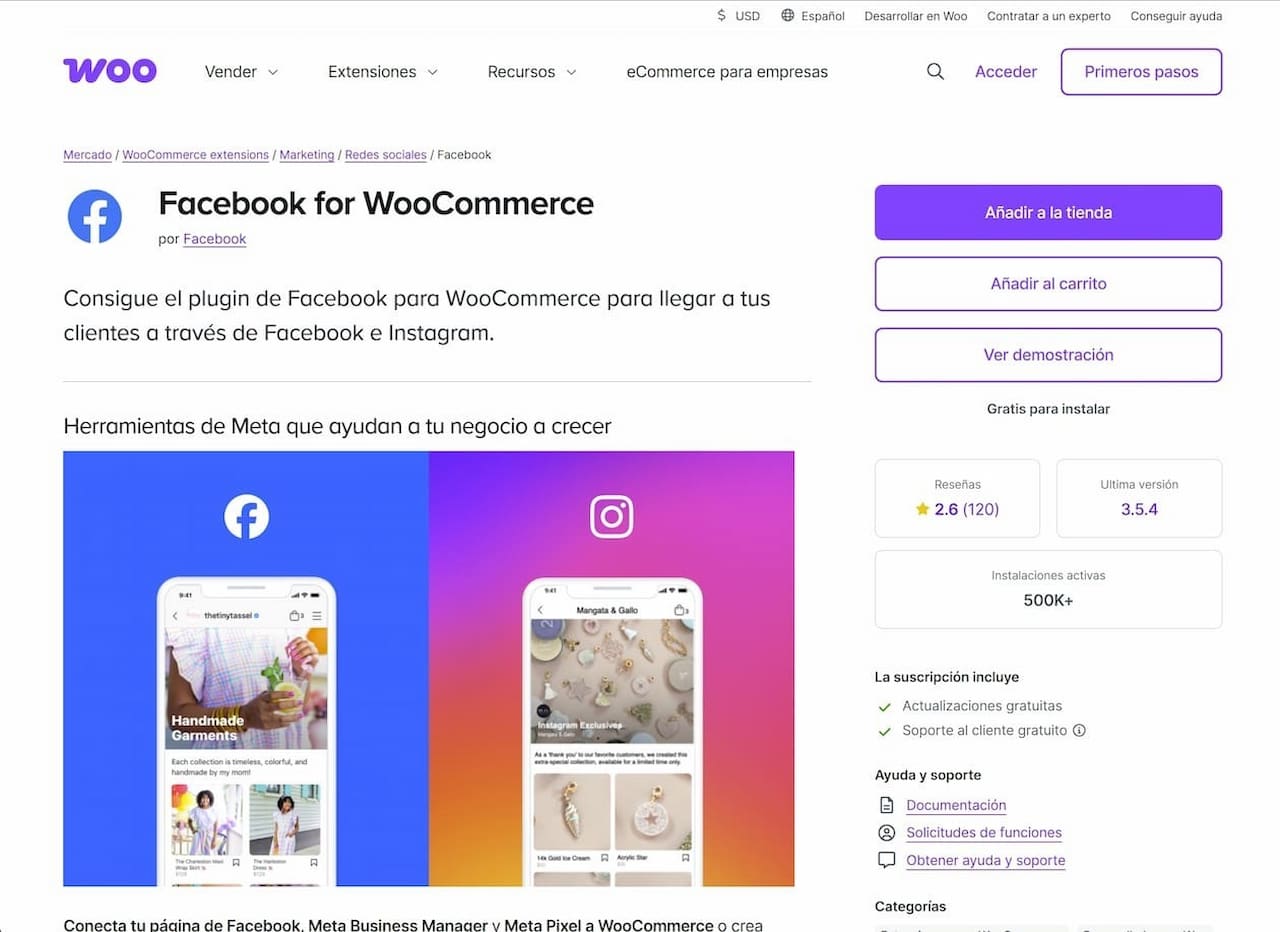 Where to download the Facebook for WooCommerce plugin?
Source: Author’s Own Work, via WooCommerce.
So, we select A Bordo Con Marieú, and click Next. The page related to A Bordo Con Marieú would be the Fanpage, in this case, A Bordo Con Marieú, we select it. Here we also have Instagram; remember we also need an Instagram account. If it doesn’t appear in the list, we can add the profile here. A window opens to enter the credentials—here it is!
Once we have connected it, we click Next, and here it gives us the option to create a catalog (or select a catalog) that we have already created. If we are doing this for the first time, we can click “Create.”
Once we have finished selecting each of these assets, we have a summary here. We confirm the configuration, and the portfolio, Facebook page, Instagram, catalog, ad account, and finally, the Pixel appear—there it is! All with the same business name.
So, here we recommend activating some automatic advanced matching, so that these ads, after we create a campaign, reach those people who have already visited your website. So, their email is linked, their phone number (which they also use for WhatsApp) is linked, and with this, we can perform remarketing.
We click Continue, and here, finally, it tells us what this WooCommerce integration could do. For example, manage the product catalogs, manage the business extension, also some advertising—this is mandatory. Optionally, we have the following three: access to ads, read content published on the page, and also show a list of the pages we manage. These three are optional.
Since WooCommerce is also a trusted platform, we use it as our store within our website, so we select “yes” for all three. Remember that with this, we already obtain metrics, and we can also have better tracking within WordPress. We click “Next,” and with that, it would be integrating.
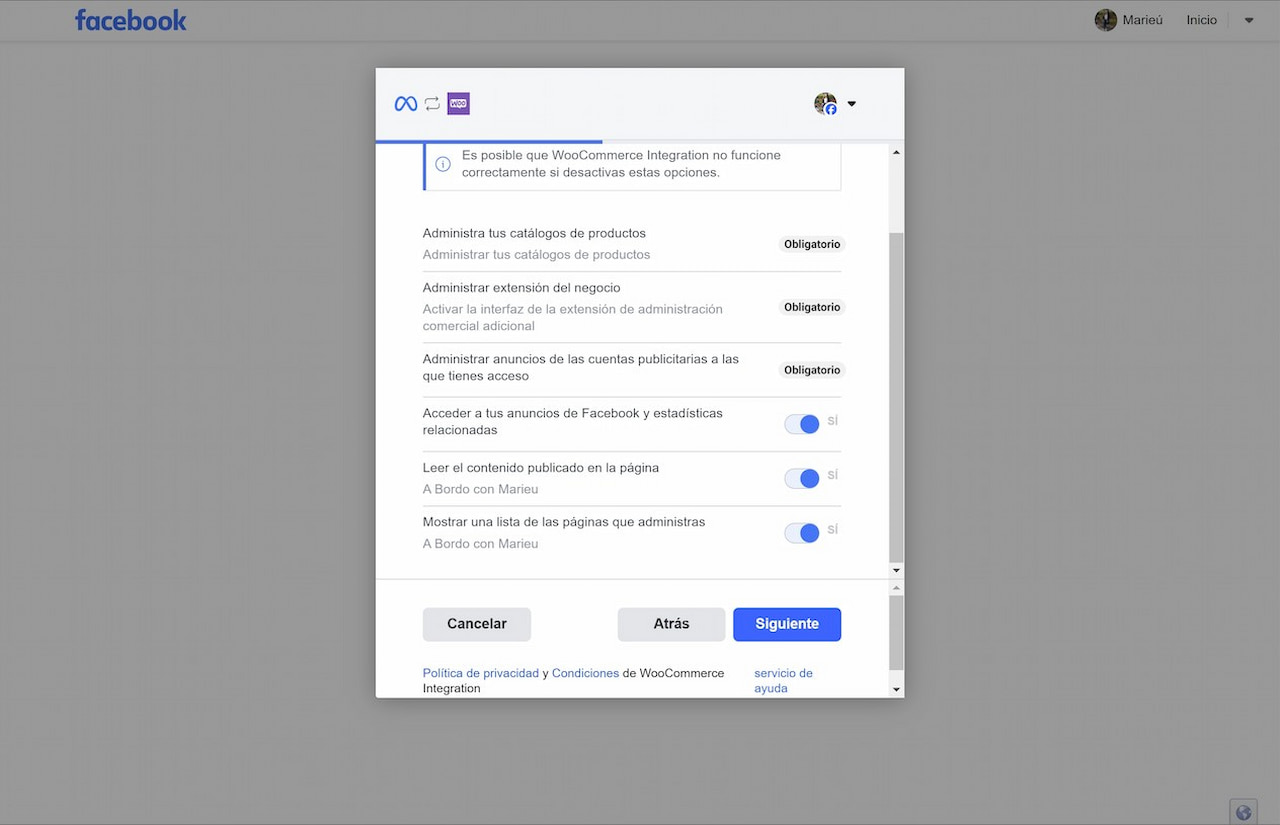
Configure the Facebook for WooCommerce plugin.
Source: Author’s Own Work, via WooCommerce.
Finally, it would appear like this; when it is integrated, the option to create ads appears—here it is! Once these ads are launched, you have the entire advertising summary: what the reach was, the engagement, some clicks.
In the second tab, we enter the product synchronization. For the first impression, the first time we land on the second tab, we click “Synchronize Products.” With that, all your products are gradually synchronizing.
Remember here, some categories that Google already requests by default, enable them here, and depending on our business, we can include them. And the one below is a subcategory.
Product set—we leave that by default. If we want to group them to launch a campaign later, we can use this Facebook product set. We recommend leaving it by default because it comes from the category of products that we have already placed in WooCommerce. We manage it by category.
Finally, “Connection”—this connection already includes some technical data such as the pixel code, the catalog, the Business Manager account, and in case we have any error. This error may also occur; I remember we got this error the first time. Perhaps we get this type of error, “unable to retrieve the extension system user.” For any of these errors, depending on the error, we can activate debug mode here.
Remember that, once finished there, we have our account, and inside we have the portfolios. So, the A Bordo Con Marieú portfolio is here; we have a business asset. If we click and select the gear icon here, we will notice that, inside accounts, we already have the linked Facebook account. We also have the Instagram part, the ad account already created. Remember that this is for creating campaigns.
One more piece of information, remember that the Pixel had also been created. So let’s go to Data Sources, and here we have the Pixel—it is created! It is no longer necessary to create it independently; with this integration, the entire configuration for the Pixel has been automatically created.
It is no longer necessary to place a tracking code inside WordPress because the plugin already brings it; it is already installed.
Final Results
How would our products look within Meta for inclusion in campaigns? We go to tools, and here we select Commerce. So, here we already have our catalog. For example, let’s go to the catalog, in this case, the website page that links with our E-commerce products, we select it, and here we have all our items. We click on “items,” and there are all the products! Done! Thank you, friends of Marieú Technology Corporation!

THE AUTHOR
Daniel Alejandro Montoya Godenzi
Alejandro, holding a Master’s degree in Administration and Project Management and a Mechatronics Engineer, has experience in digital technology projects. He is part of the Marieú Technology Corporation team. In his free time, he enjoys creating new projects, reading a book, or watching a series.





