
Hello friends of Marieú Technology Corporation, ready to take your products to Google search results and sell like a pro? Learn to set up Google Ads and Merchant Center with WooCommerce in just 6 steps. This is the definitive strategy for your online store to reach millions of potential buyers.
At Marieú Corp, we will guide you from scratch to integrate your product catalog and launch Shopping campaigns that truly convert. Master Google advertising and transform your WooCommerce store into a powerful online sales engine.
How to Connect Google Ads and WooCommerce with Marieú?
For this Google for WooCommerce configuration, we will start with the installation—here it is! Within WordPress, we will install the plugin; it is completely free, there is no cost to install it. Internally, within the plugin, we will connect our Google Ads and Google Merchant accounts. It is an essential requirement that we already have a Google Ads and Google Merchant account. If you don’t have one, it also gives you the option to create one.
So, within this plugin, it gives us the option to connect our Google Ads and Google Merchant accounts. If we don’t have an account created, it also gives us the option to create one from scratch, both for Google Ads and Google Merchant.
Remember that Google Ads is the platform where we advertise our products and services. And, in the case of Merchant, Google Merchant, we display our products within these Google results in the form of cards, with images and the price detail of our product or service.

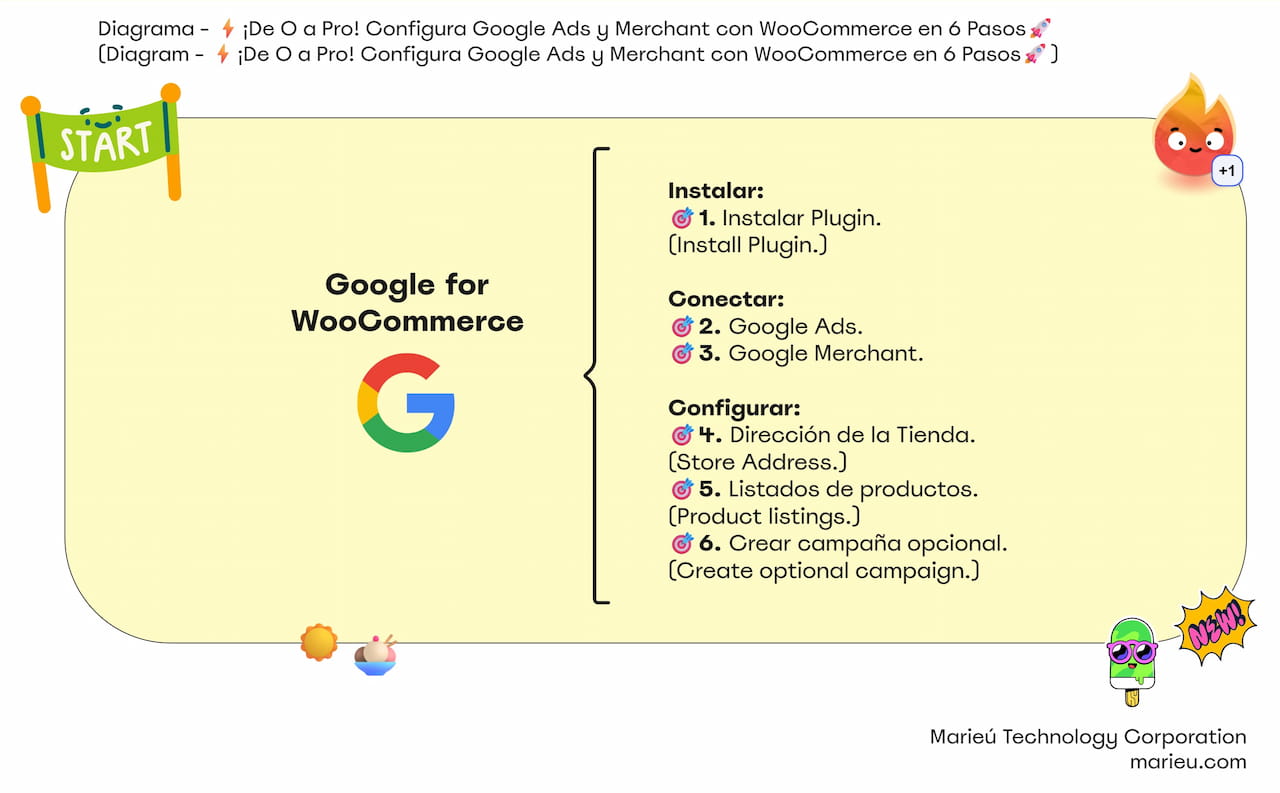
Diagram: Set Up Google Ads and Merchant with WooCommerce!
Source: Author’s Own Work, via Miro.
After that, we also have the section where we put all the details of our store’s address. And if we have it previously configured in WooCommerce, it automatically extracts the information and places it. If not, we have to detail the address and country so that it can send that information to Google Merchant.
Next, we have the product listing, where we have to detail some costs and the shipping time for our products. Finally, we will start creating a campaign. In this case, it is optional, where, evidently, it would be connecting with Google Ads. So, if we wanted a campaign, it would be sent to Google Ads.
Here we are inside the staging environment of A Bordo con Marieú. Remember that it is also a Marieú Technology brand, where you can find any type of product related to the sports category. Go visit the A Bordo con Marieú store! We select here (add new plugin), Google for WooCommerce.
The plugin we are going to install is this one; this plugin was developed by WooCommerce, so it is trustworthy. We have been using the plugin for some time, so we recommend that you configure and use it. We click “Install” and then “Activate” here.
Where can we see it to start the connection and configuration? We will go here to “Marketing” and enter Google for WooCommerce, select it. So from here, to start this connection, we are going to select here (or “Sell More with Google”). We select it, and here we enter the three steps to connect our WordPress account. This already comes with the user who has logged into our platform.
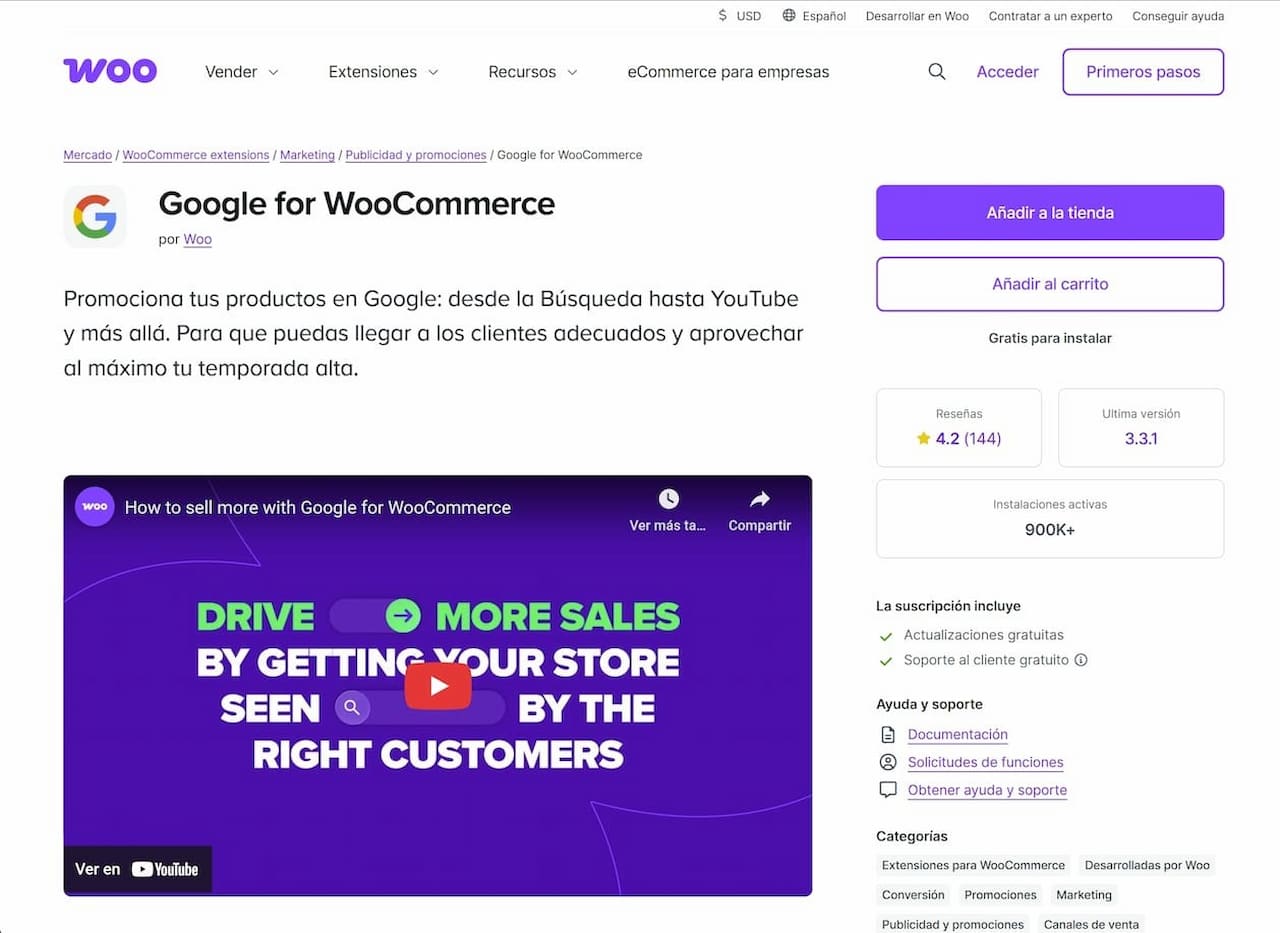 Where to download the Google for WooCommerce Plugin?
Source: Author’s Own Work, via WooCommerce.
For example, here, when we log in with our email, we automatically click “Connect,” and it links. After that, we connect Google, which includes connecting Google Merchant Center and Google Ads. So, how will it appear after connecting our accounts? Internally, once you have finished connecting it, it will appear like this. The ID of the merchant center, in this case, is from Google Merchant, and you have your ID here.
In the case of the second, it is Google Ads, and also. When we have both ready, they will appear in green, “Connected.”
Then, it also automatically extracts the information from your WooCommerce. This information is linked to the description we placed in our store. This comes from here, we go to WooCommerce and Settings. All this store address information extracts that information and puts it here. If there is data that does not correspond, we update it. Then, here we will click “Continue.”
Here, in the second step, is the product listing configuration. We start with the location, in this case, Peru. You can select any country that would be focused on our target audience. We do recommend focusing only on our target audience.
Afterward, it will also ask you, if it’s for all, we select the second option. Regarding shipping rates, this comes from here, from “Shipping,” to configure our shipping rate. Depending on the locations, we can establish an amount. For this amount, we recommend selecting the first option here: automatically synchronize this configuration from my store to Google.
If we don’t have it, we can also include these shipping rates at the bottom. Finally, the shipping time. Here, for example, on A Bordo, we have set 0 to 7 days. It will also greatly depend on the shipping policy that you have established on your website.
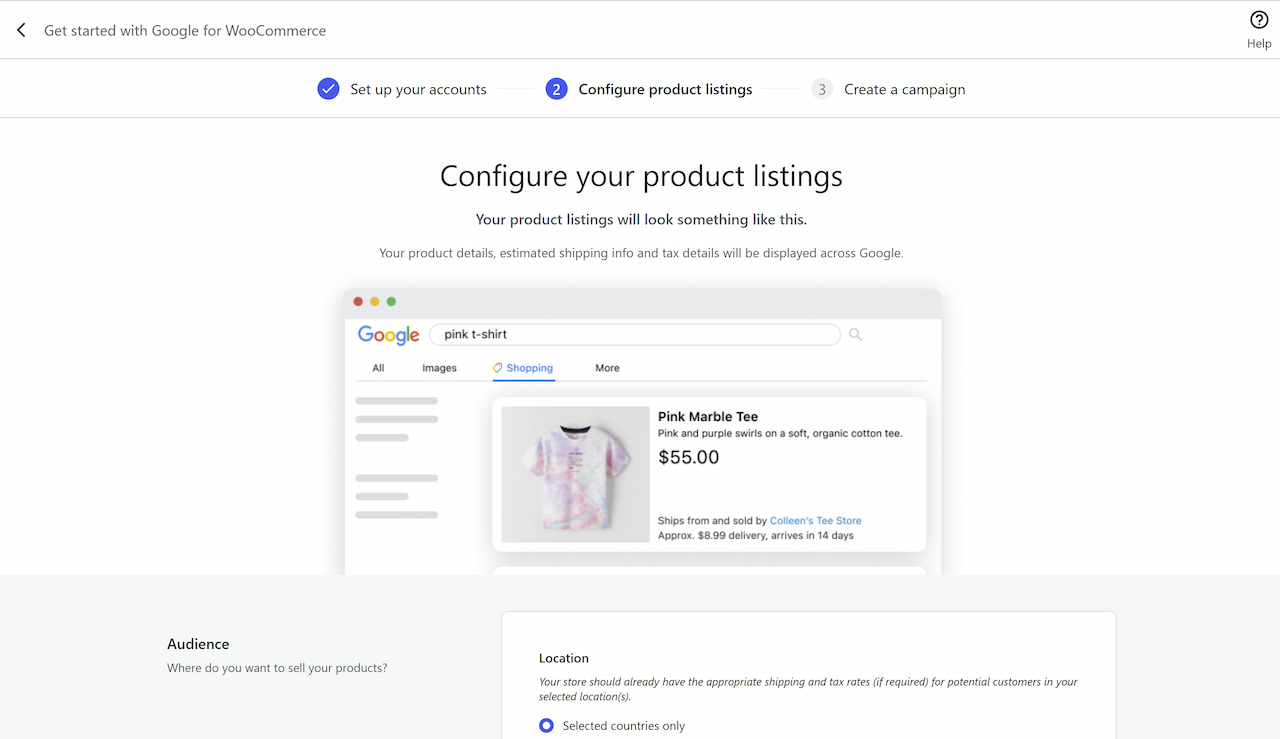
Configure Google for WooCommerce Plugin – Add Location.
Source: Author’s Own Work, via WooCommerce.
For the third step, it is creating a campaign, in this case, it is optional, and it will appear roughly like this. “You have set up Google,” we select “Maybe later,” a window will appear like this, we select “Maybe later,” and that’s it. We click “Redirect,” it updates, and then you go to your WordPress administrator.
Finally, you end with this message (“You have successfully configured Google for WooCommerce!”). So, when you have them connected, it will appear like this. You have the “Dashboard” tab, where it will clearly detail if you have activated any campaigns and how this performance would be detailed. For example, the number of clicks and here we have the total spending.
We also have another more detailed “Reports” tab, where we see the number of clicks and impressions according to the period we select in this section. Here we also have the “Product Feed.” Initially, it appears loading; it takes a while, and the product feed appears at the bottom. So here are all your products.
If we make an update to this product, for example, we change an image, a description, and we want to update this synchronization again, we select it and click here: “Synchronize and Show.”
Since it connects to a Google Merchant API, it does it quickly, and here, in our Google Merchant account, we go to “Products,” and we see that they are updating quickly.
Final Results
Then we have the attributes. These attributes, if we manage attributes at the product level, for example, we have “Products” and “Attributes” here, the attributes can be by color, by size, by brand too, among others. We, for example, manage it for each independent product, we manage it through WooCommerce, and it is not necessary to modify anything here.
We also have “Settings.” In these settings, we see how the accounts are connected: Merchant, Google, we have our Google Ads account, WordPress, and the address. Finally, we have “Shipping.” Also, remember that we detail the country, we also have the shipping rates and the shipping times. Done! Thank you, friends of Marieú Technology Corporation!

THE AUTHOR
Daniel Alejandro Montoya Godenzi
Alejandro, holding a Master’s degree in Administration and Project Management and a Mechatronics Engineer, has experience in digital technology projects. He is part of the Marieú Technology Corporation team. In his free time, he enjoys creating new projects, reading a book, or watching a series.





